Siding Contractors Fairfax VA: Repairs, Inspections, and Fixing Loose Vinyl Siding
Siding Contractors Fairfax VA: Repairs, Inspections, and Fixing Loose Vinyl Siding
Key Takeaways
- Loose vinyl siding creates an immediate water infiltration risk — the sooner it is reattached, the less chance of sheathing damage
- A proper siding inspection checklist covers panels, seams, trim, flashing, caulk, and moisture indicators — not just surface appearance
- Vinyl siding repair costs in Northern Virginia typically run $150–$600 for isolated panel repairs, $800–$2,500 for a full wall section
- Roof siding repair at eave and gable edges requires coordinating both the roofing and siding scopes to ensure flashing is correct
- Verify Virginia DPOR contractor license before any siding work begins
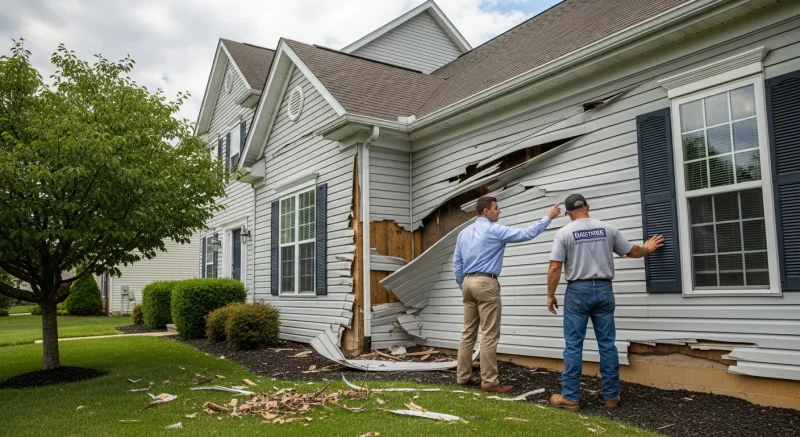
Siding contractors in Fairfax VA handle a range of work: storm damage repair, loose panel reattachment, full replacement, and inspections for homeowners who suspect moisture has gotten behind the cladding. Sterling Roofers serves Northern Virginia and nearby Maryland communities across the DMV, and our crews handle siding alongside roofing and exterior work because the two are closely linked — especially at the roofline, eaves, and gable edges where roof and siding systems meet. Here is what Fairfax homeowners need to know about siding inspection, repair, and choosing the right contractor.
Why Siding Problems Become Water Problems
Vinyl and other siding materials are water-resistant but not waterproof. They are designed to shed water, not to be the final line of defense against it. The true water barrier in most modern construction is the house wrap behind the siding — a material like Tyvek or similar products that blocks bulk water while allowing vapor to escape. When siding fails, the house wrap takes over. When both fail, water reaches the OSB or plywood sheathing and structural framing.
Common failure points that allow water behind siding in Fairfax County homes:
- Loose or unlatched panels. Vinyl siding locks to the course below with an interlocking channel. When the lock separates from wind pressure, impact, or installer error, a gap opens at the bottom of the panel. Water runs down the wall, enters that gap, and collects on the house wrap or sheathing below.
- Failed caulk at penetrations. Caulk around outlets, lights, hose bibs, and cable penetrations shrinks and cracks over time. These small gaps are some of the most consistent water entry points on Fairfax homes, particularly on south and west-facing walls where sun accelerates caulk degradation.
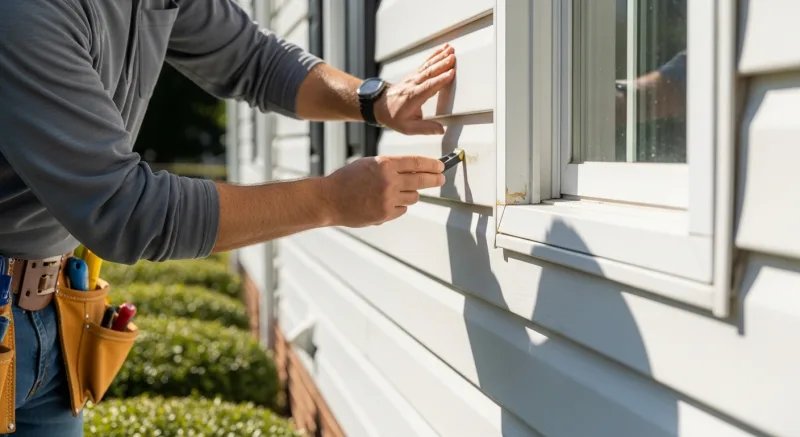
- Missing or damaged J-channel at window and door frames. J-channel trims the perimeter of windows and doors and is supposed to direct water away from the opening. When J-channel is cracked, missing sections, or was never installed correctly, water enters at one of the highest-risk locations: the joint between siding and window frame.
- Roof-to-wall flashing failure. Where a roof slope meets a vertical wall — a common detail on dormers and additions — step flashing and counter flashing are installed to redirect water out from the wall joint. When these flashings corrode, lift, or were never installed, water enters directly at the wall junction and may travel through both the siding and roofing system before becoming visible inside the house.
Fairfax County homes built in the 1970s and 1980s often have an additional challenge: many were originally clad in wood siding or aluminum, and subsequent vinyl re-siding may have been installed directly over the original material without removing it — meaning moisture problems from the earlier installation can be hidden and compounding behind multiple layers.
What a Siding Inspection Checklist Should Cover
A proper siding inspection is not a walk-around looking for obviously cracked panels. A thorough siding inspection checklist covers:
- Panel surfaces. Each panel is checked for cracks, impact dents, warping from heat or moisture, and fading inconsistencies that might indicate localized moisture damage underneath.
- Seams and overlaps. Horizontal seams between courses and vertical seams at butt joints are checked for gaps, separation, or missing locking. Gaps wider than 1/16 inch at butt joints are openings for water and insects.
- Corner posts and J-channel trim. Corner posts are examined for looseness, rot at the base where they sit close to grade, and separation from the adjacent panels. J-channel around all window and door openings is checked for cracks, missing sections, and proper integration with window flashing.
- Soffit and fascia condition. Soffits and fascia sit at the roof-siding interface and are frequently the first place moisture damage becomes visible. Peeling paint, soft wood, or staining on fascia boards indicates water infiltration from either the roofline or behind the siding near the eave.
- Roof-to-wall flashing zones. Any location where a roof slope meets a vertical wall is examined for flashing integrity and any sign of staining or separation that indicates water entry.
- Moisture indicators. Dark staining, chalking, mold growth at the base of panels, or a musty smell near any wall section are indicators of prolonged moisture presence that should trigger further investigation.
When Sterling Roofers’ siding contractors in Fairfax VA perform this inspection, findings are photographed and documented in a written report. This report serves as the baseline for a repair scope or insurance claim if applicable.
How to Repair Vinyl Siding That Has Come Loose
Understanding how to repair vinyl siding that has come loose helps homeowners assess whether a quick contractor visit can resolve the issue or whether something more significant is going on underneath.
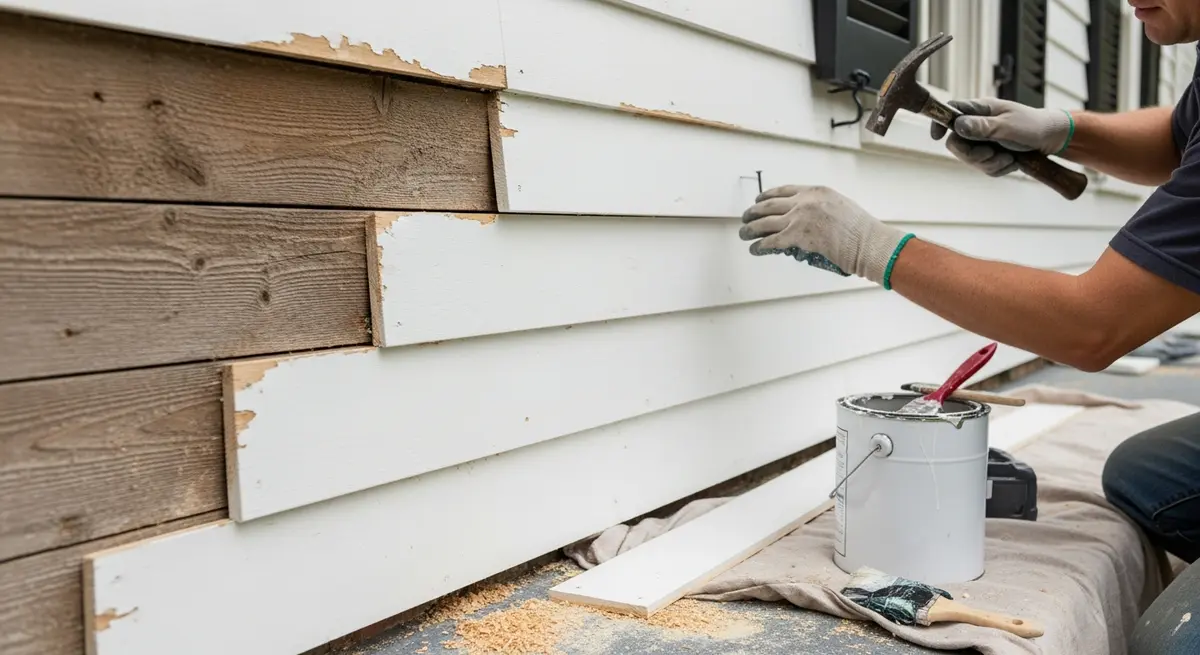
Simple reattachment: When a vinyl panel has partially unlatched but is otherwise undamaged, a contractor uses a zip tool — a flat hook-shaped metal tool — to lift the course above and re-engage the panel’s locking channel. If the original nails are intact and the panel is sound, this is a 15-minute repair per panel. The challenge arises when the panel has warped or cracked from being loose for an extended period, or when the underlying fastener holes have enlarged from repeated wind movement.
Panel replacement: When a panel is cracked, dented beyond flattening, or warped from heat or moisture exposure, it needs replacement. A contractor carefully removes it using the zip tool, cuts a replacement panel to the exact length, snaps it into the course below, nails it correctly (nails centered in the nail slot, not driven tight — vinyl must be able to slide for thermal expansion), and locks the course above back into place. The critical detail is matching: vinyl fades over time and a new panel of the same product line from a current batch may not match a 15-year-old installation.
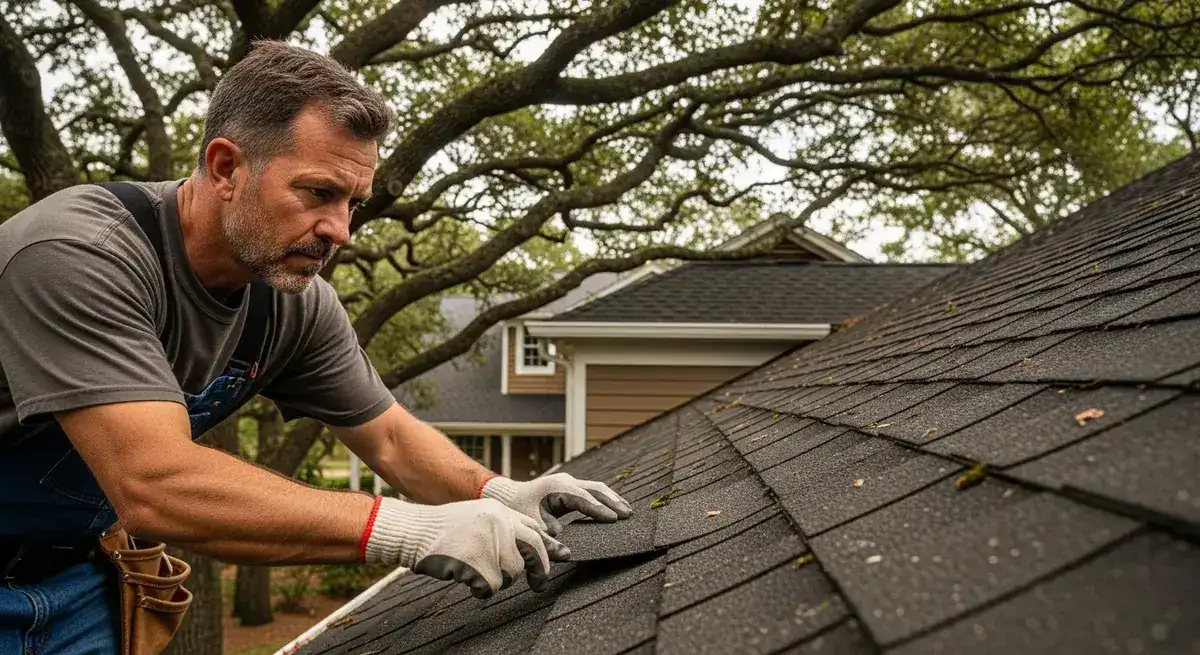
Addressing the underlying cause: How to repair missing roof shingles and how to repair vinyl siding that has come loose have something in common: if you only fix the visible symptom without addressing the cause, the problem returns. Loose siding from wind usually indicates that the original nailing pattern was inadequate or the panel was oversized. A recurring issue in the same location suggests a structural or installation problem that requires correcting, not just re-latching.
Cost range (Northern Virginia, as of 2026): Isolated panel reattachment runs $150–$350 depending on access and panel count. Single panel replacement with material matching runs $200–$600 per panel for difficult-to-match products. A full wall section replacement (one story, standard 8-foot wall) typically runs $800–$2,500 in the Fairfax County market, depending on material type, removal of existing layers, and trim complexity.
When Roof Siding Repair Overlaps
Roof siding repair — work at the point where roofing and siding systems intersect — is one of the most mismanaged repairs in residential exterior work. The overlap zone includes:
- Eave edges. Where the roof slope terminates and the fascia begins, the lowest course of siding and the drip edge or gutter installation are in close proximity. When gutters overflow or pull away, water can reach the fascia and migrate behind the first siding course.
- Gable rake edges. The raking edge of the roof (the sloped edge at the end of the gable) sits adjacent to the siding on the gable wall. Proper installation requires a specific sequence: roofing material and drip edge installed first, then gable trim, then siding. When this sequence was not followed correctly, or when flashings have failed, water enters at the gable-wall junction.
- Dormers and roof-to-wall junctions. Step flashing at dormers integrates with both the roofing system and the siding. If a roofer replaces shingles without addressing the step flashing, and if the siding contractor installs new siding without accounting for the roofing system above it, the result is often a correctly-installed individual component that creates a system-level failure at the junction.
This is why siding contractors in Fairfax VA who also handle roofing — or who coordinate directly with a roofing crew — tend to produce better results at these overlap zones. A roofing-only contractor may not fully account for the siding implications of their flashing decisions, and a siding-only contractor may not understand what the roofline above requires for proper water management.
Siding Inspections and Repairs in Fairfax County and Northern Virginia
Sterling Roofers handles siding inspections, loose panel repairs, and coordinated roof-siding work across Fairfax County and Northern Virginia. Written scope, photo documentation, and clear pricing. Send us photos of your siding issue or book an inspection online. Call (703) 436-4445.
Request Siding Inspection